
The Ultimate Guide to Applying UV Transfer Stickers Like a Pro
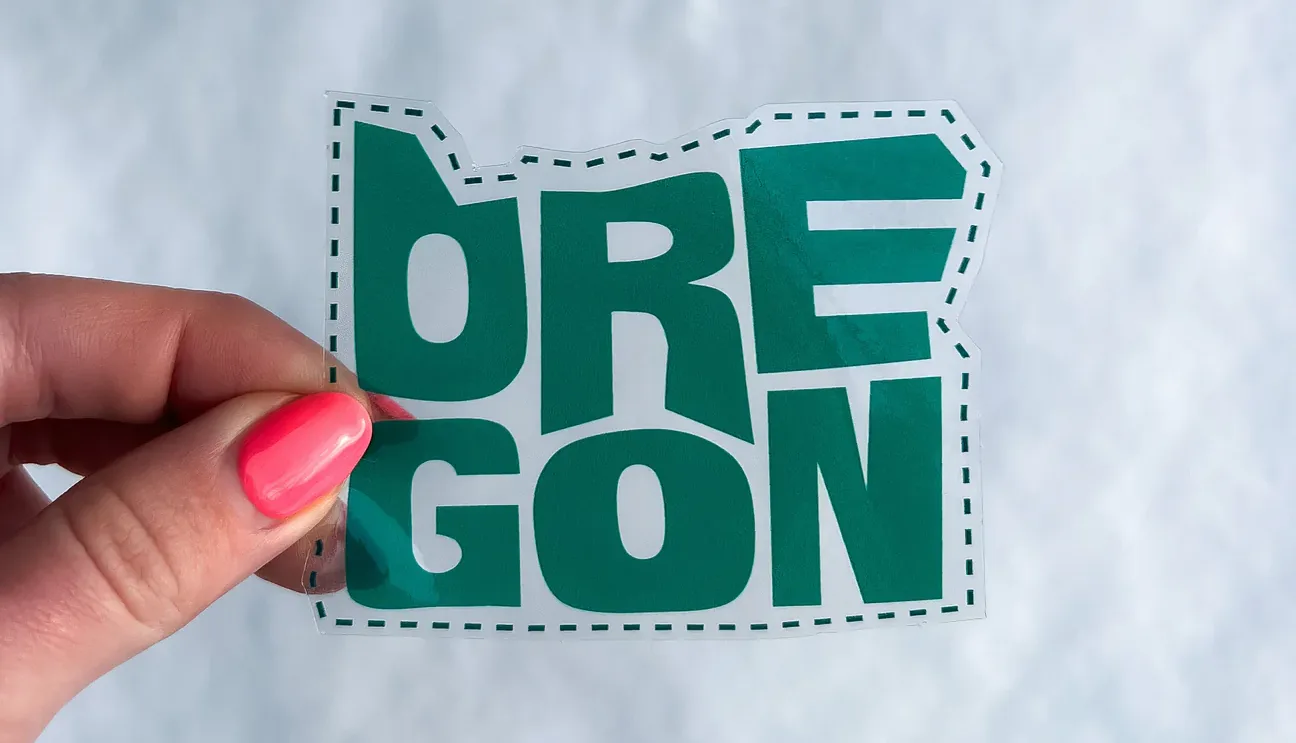
UV transfer stickers are widely used in industries such as automotive, electronics, and promotional products due to their durability and high-quality finish. However, improper application can lead to bubbles, misalignment, or premature peeling. This guide will walk you through the entire process, from preparation to curing, ensuring a flawless result every time.
1. Understanding UV Transfer Stickers
Before diving into application, it’s essential to understand what makes UV transfer stickers unique:
-
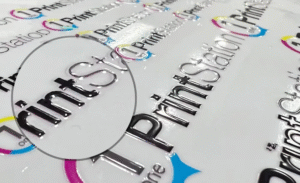
UV-Curable Inks: These inks harden instantly under UV light, creating a durable and glossy finish.
-
Multi-Layer Structure: Typically consists of a backing film, adhesive layer, printed design, and protective coating.
-
Compatibility: Works on plastics, metals, glass, and even curved surfaces.
Knowing these characteristics helps in handling the stickers correctly during application.
2. Tools and Materials Needed
To apply UV transfer stickers professionally, gather the following:
-
UV Transfer Sticker Sheet (pre-cut if necessary)
-
UV Lamp or LED Curing Light (for instant drying)
-
Squeegee or Soft Cloth (to remove air bubbles)
-
Isopropyl Alcohol & Lint-Free Cloth (for surface cleaning)
-
Masking Tape (for alignment)
-
Heat Gun (Optional) – Helps with conforming to curved surfaces.
3. Step-by-Step Application Process
Step 1: Surface Preparation
A clean, smooth surface ensures proper adhesion.
-
Clean the Surface: Use isopropyl alcohol to remove dust, grease, or residues.
-
Dry Thoroughly: Any moisture can weaken adhesion.
-
Check for Imperfections: Sand down rough spots if necessary.
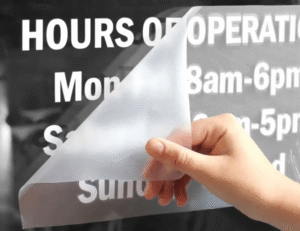
Step 2: Positioning the Sticker
-
Peel the Backing Film: Gently lift the sticker from its backing.
-
Use Masking Tape for Alignment: Temporarily fix one edge to adjust positioning.
-
Avoid Stretching: Overstretching can distort the design.
Step 3: Applying the Sticker
-
Lay Down Gradually: Start from one side and slowly press down.
-
Use a Squeegee: Apply firm, even pressure to eliminate air bubbles.
-
Work from Center to Edges: Prevents wrinkles and misalignment.
Step 4: UV Curing
-
Expose to UV Light: Hold the UV lamp 5-10 cm away for 10-30 seconds.
-
Check for Full Adhesion: Ensure all areas are properly cured.
-
Remove the Top Film (if applicable): Some stickers have a protective top layer that peels off after curing.
Step 5: Final Inspection
-
Check for Bubbles or Lifting Edges: If found, reapply pressure and cure again.
-
Clean Excess Adhesive: Use alcohol for any sticky residue.
4. Common Mistakes & How to Avoid Them
-
Rushing the Process: Leads to misalignment or poor adhesion.
-
Insufficient Cleaning: Causes peeling over time.
-
Uneven Pressure: Results in bubbles or wrinkles.
-
Incomplete UV Curing: Weakens durability.
5. Tips for Long-Lasting Results
-
Store Unused Stickers Properly: Keep in a cool, dry place away from sunlight.
-
Avoid Abrasive Cleaners: Use mild soap and water for cleaning.
-
Reapply UV Protection (Optional): A clear UV-resistant topcoat can extend lifespan.
By following these steps, you can achieve professional-grade UV transfer sticker applications with ease.


Add comment